

Apple’s original camera has always been great. The square is full of texture. It can’t drop frames when shooting large pics. Portrait high-level sense, etc. Today I’m going to teach you a few tips to make you use Apple’s original camera to take pictures more beautiful, clear, and textured!
 ①Camera adjustment: open settings-camera-record video-select 40k60fps (you will find that the original camera becomes particularly clear) to return to click format-select efficient-return-open the grid (to make your picture better)
If you find that the selfie is the reverse, turn on the mirror front camera in the camera so that the selfie will not be reversed!  (Only supports iOS14 system~)
②Filter settings: Apple’s filter adjustment is also very beautiful
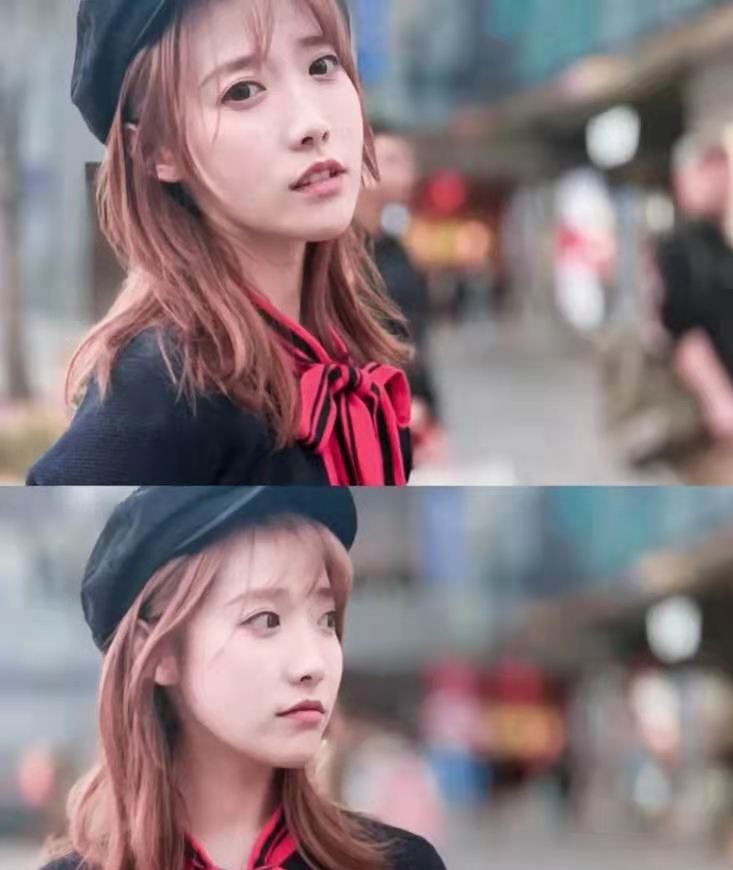
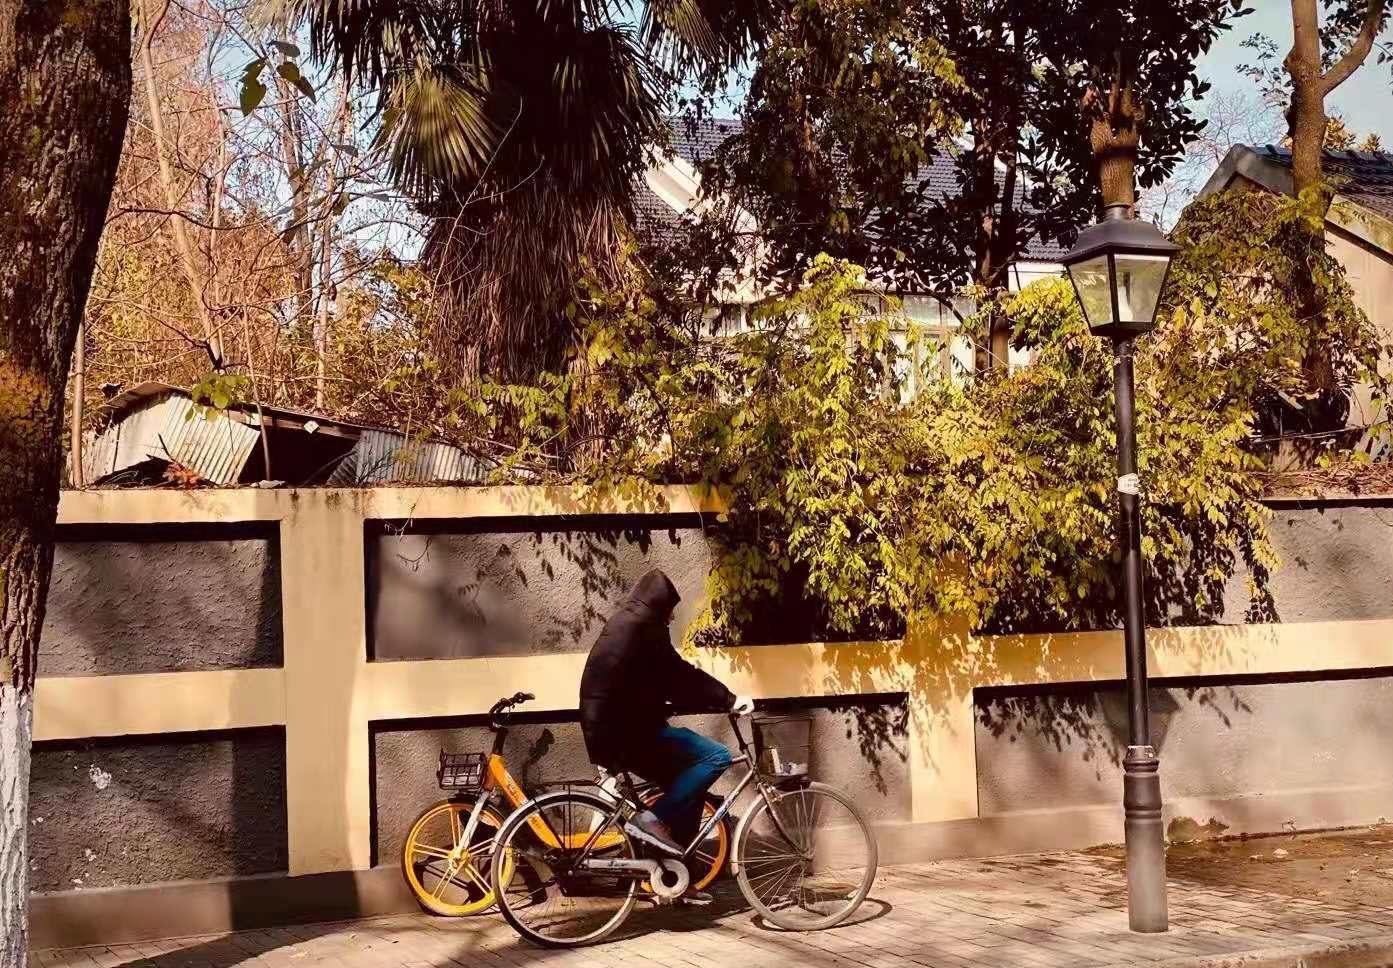
When you take a picture that doesn’t look good, you can try this adjustment:
Sunset, landscape: vividness 14 (improve the details of dark parts)
High light  60 (smooth the sky and highlight the brightness)
Contrast 10 (increase gradation contrast)
Brightness 25 (the original film is too bright, reduce the brightness)
Saturation 20 (make the sunset more beautiful  )
)
Natural saturation20
Color temperature 15 (make the picture warmer to create an atmosphere)
Sharpness 20 (enhance the picture quality)
Clarity 15 (the picture is clearer and sharper)
People: Exposure30
Sharpness28
Highlight10
Vaguely 28
Contrast 35
Saturation22
Natural saturation42
Hue18