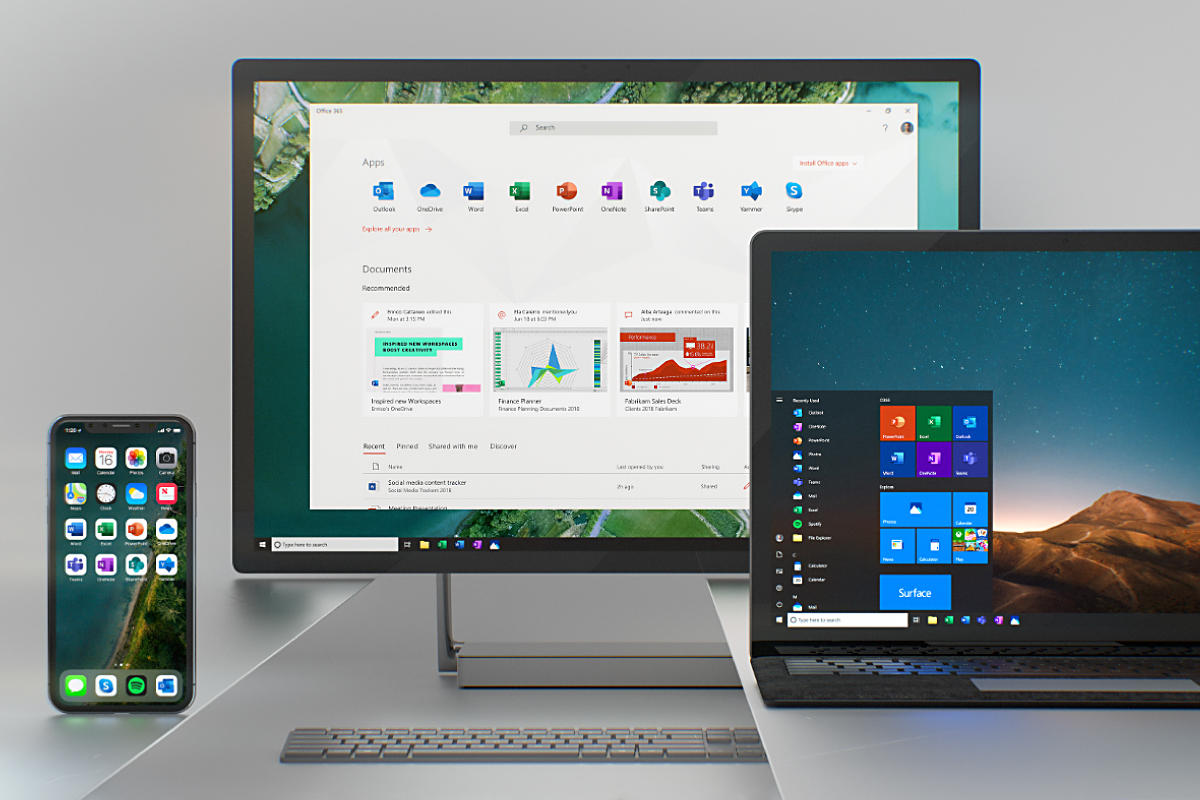
Provided you wanna use Microsoft Office but don’t want to pay for it, why not try the free Office for the web? Formerly known as Office Online and now known simply as Office, the web-based apps reside online, accessible through your browser.
First of all, you need to sign up and get started
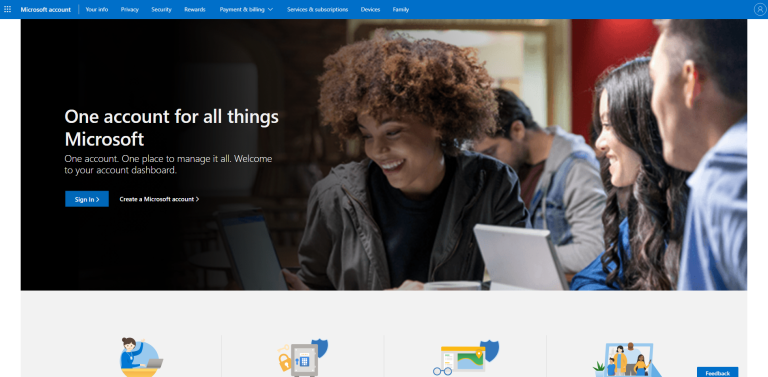
Firstly, you would need a Microsoft Account. If you don’t already have one, set it up at the Microsoft Account website. A Microsoft Account comes with 5GB of free OneDrive storage; if you need more, you can snag 100GB for $1.99 a month. Navigate to the Office website and click the Sign in button. Sign in with your Microsoft Account, and you’re taken to the Office website.
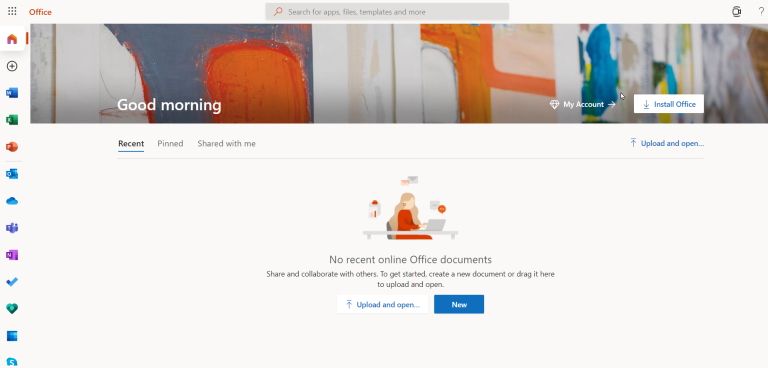
On the left are icons for apps such as Word, Excel, PowerPoint, and Outlook. After you start creating and saving Office files, they’ll appear at the bottom of the page as recent documents so you can more easily access them.
Then, you have to create new files
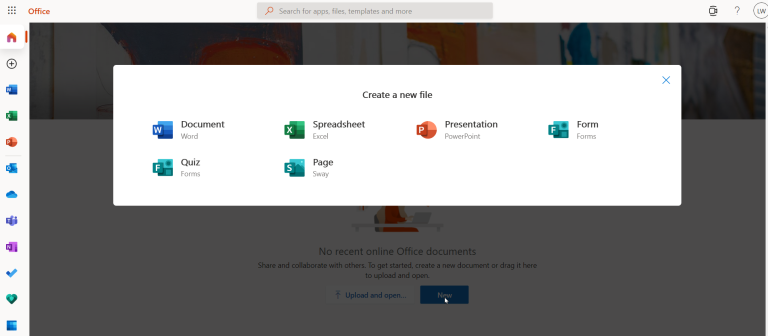
From here, you can create a new document or file a few different ways. Click the Create button on the left or the New button in the middle. Then select the icon for the type of file you want to create from the pop-up window—Word document, Excel spreadsheet, PowerPoint presentation, Forms survey, Forms quiz, or Sway page.
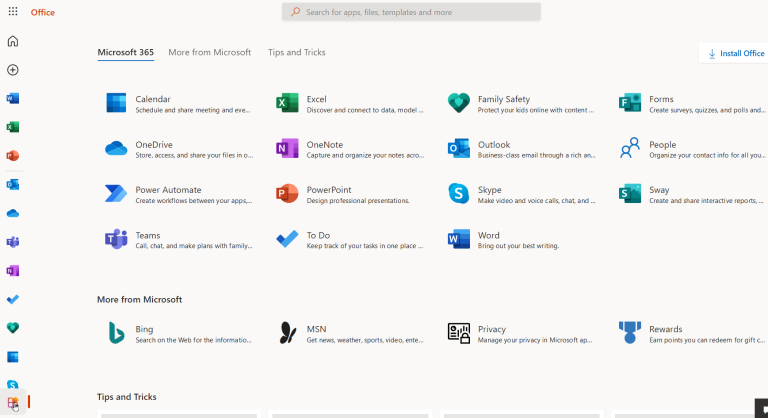
Alternatively, just click the icon for the program you wish to use. Click the All Apps icon to see additional apps. As an example, we’ll use Word, but you can choose any of the Office apps. The online versions of Excel, PowerPoint, and OneNote work similarly, in that they offer all the basic commands and features.
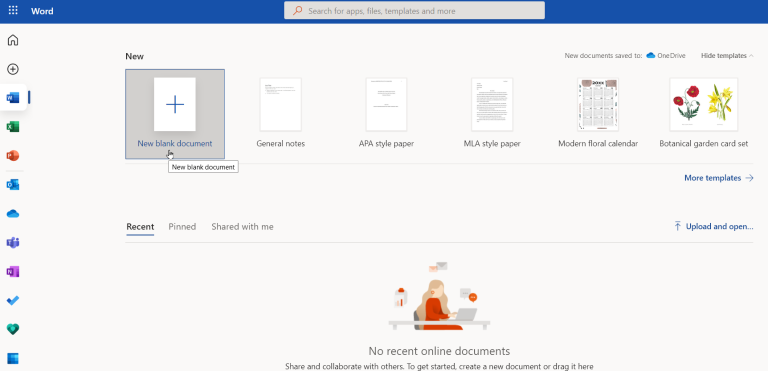
Click the icon for Word to launch the new document page, where you can select a template or create a new document from scratch. Word offers templates for resumes, cover letters, flyers, and calendars. If you don’t need a special template, just click New blank document to open a blank page.
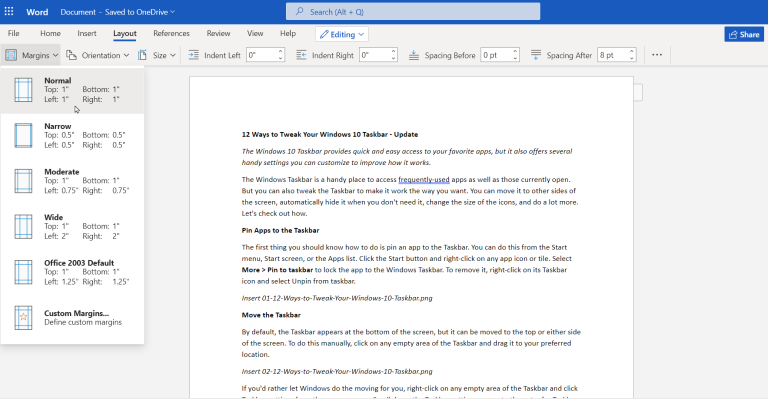
You would find all the basic editing options in the Word toolbar. Set the font, text size, and other styles; insert tables and pictures; add page numbers, headers, and footers; adjust the page size, margins, and orientation; zoom in and out of your document; and run a spell check.
Save and Download Documents
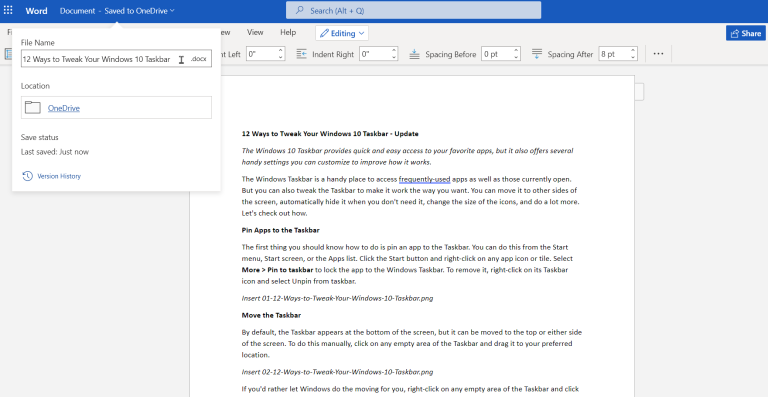
Your document takes on a default name of Document 1, Document 2, etc. To change the name, click in the Name field at the top of the document and type a new one.
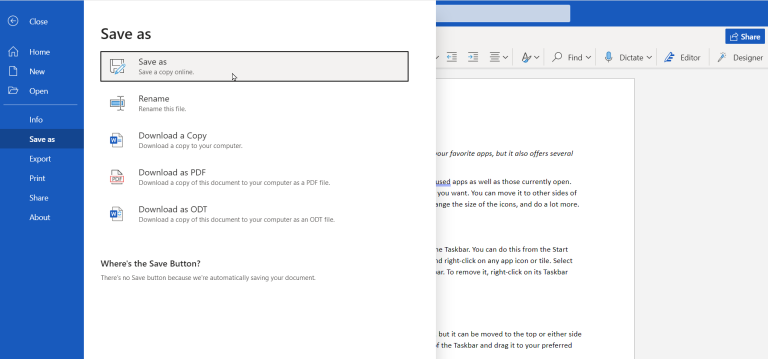
By default, your document is saved in the root location of your OneDrive storage space. If you plan to work with a lot of different documents, you may want to create specific folders in OneDrive to store these files. If you want to save a copy of your document in a specific folder, click File > Save As > Save as to save a copy to OneDrive.
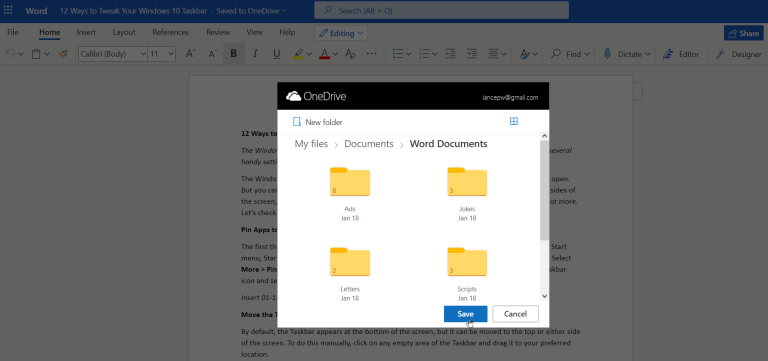
Navigate your OneDrive space and select the folder to which you want to save your document, then click Save. Afterwards, your document automatically saves periodically so you don’t have to manually keep saving it as you do with the desktop version of Word.
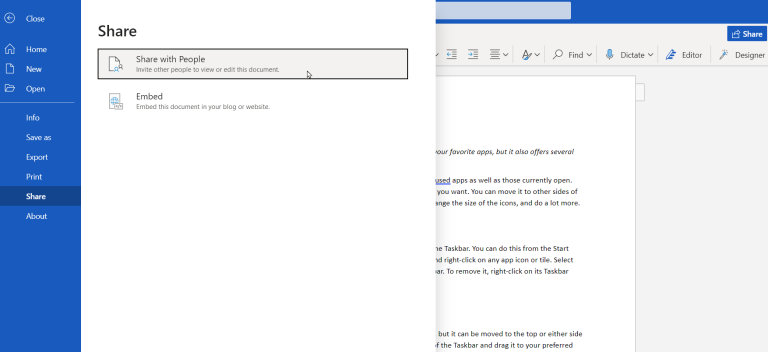
From the Save As menu in Office, you can also download the file to your PC, either as a Word document or a PDF.
You can perform other actions from the File menu, like printing your document, turning it into a web page, and sharing it with other people. From the same menu, you have the ability to find a previous version of the document, create a new document, and open an existing document.
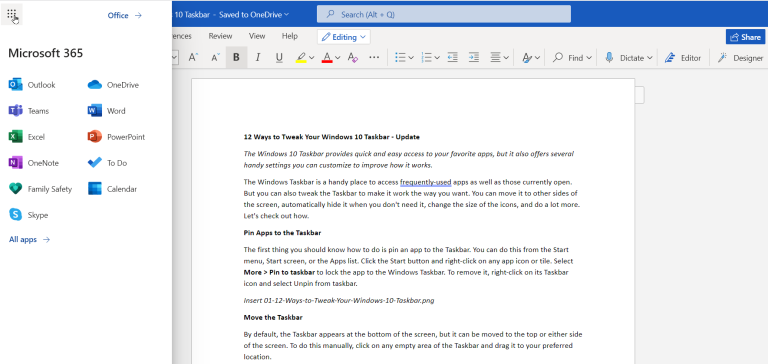
In order to access another Office app from your current one, click the square app launcher button in the top-left corner. If the app you want to use doesn’t appear, click the All Apps link. You can then select your application of choice.

