I like to get and teach this kind of fun little skills.
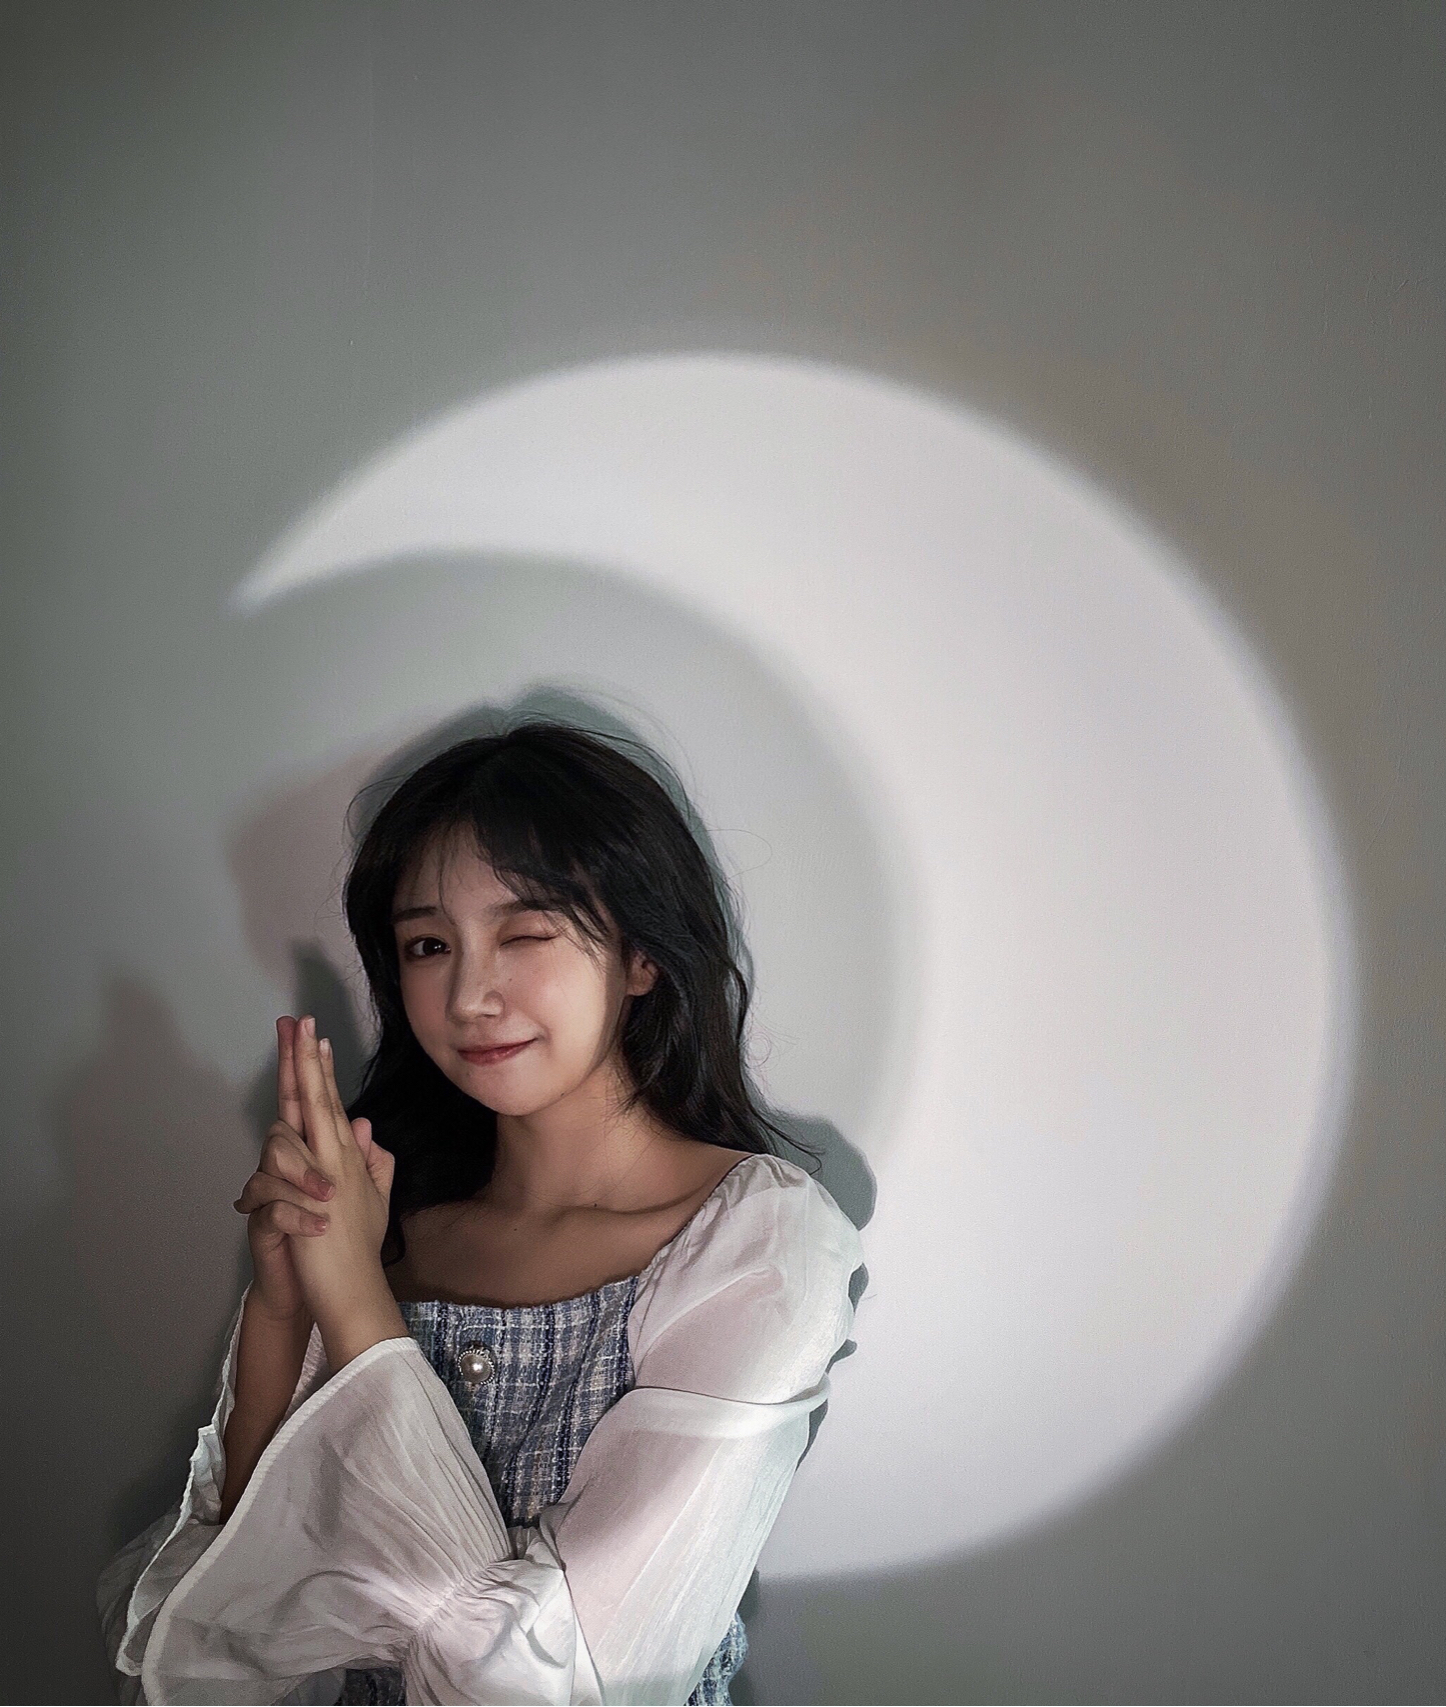
What you need to prepare:
Props: paper cups, scissors, tape
Shooting tools: two mobile phones, and a stand for a mobile phone!
Shooting scene: a white wall
We can get started once all the things are prepared.
Practice:
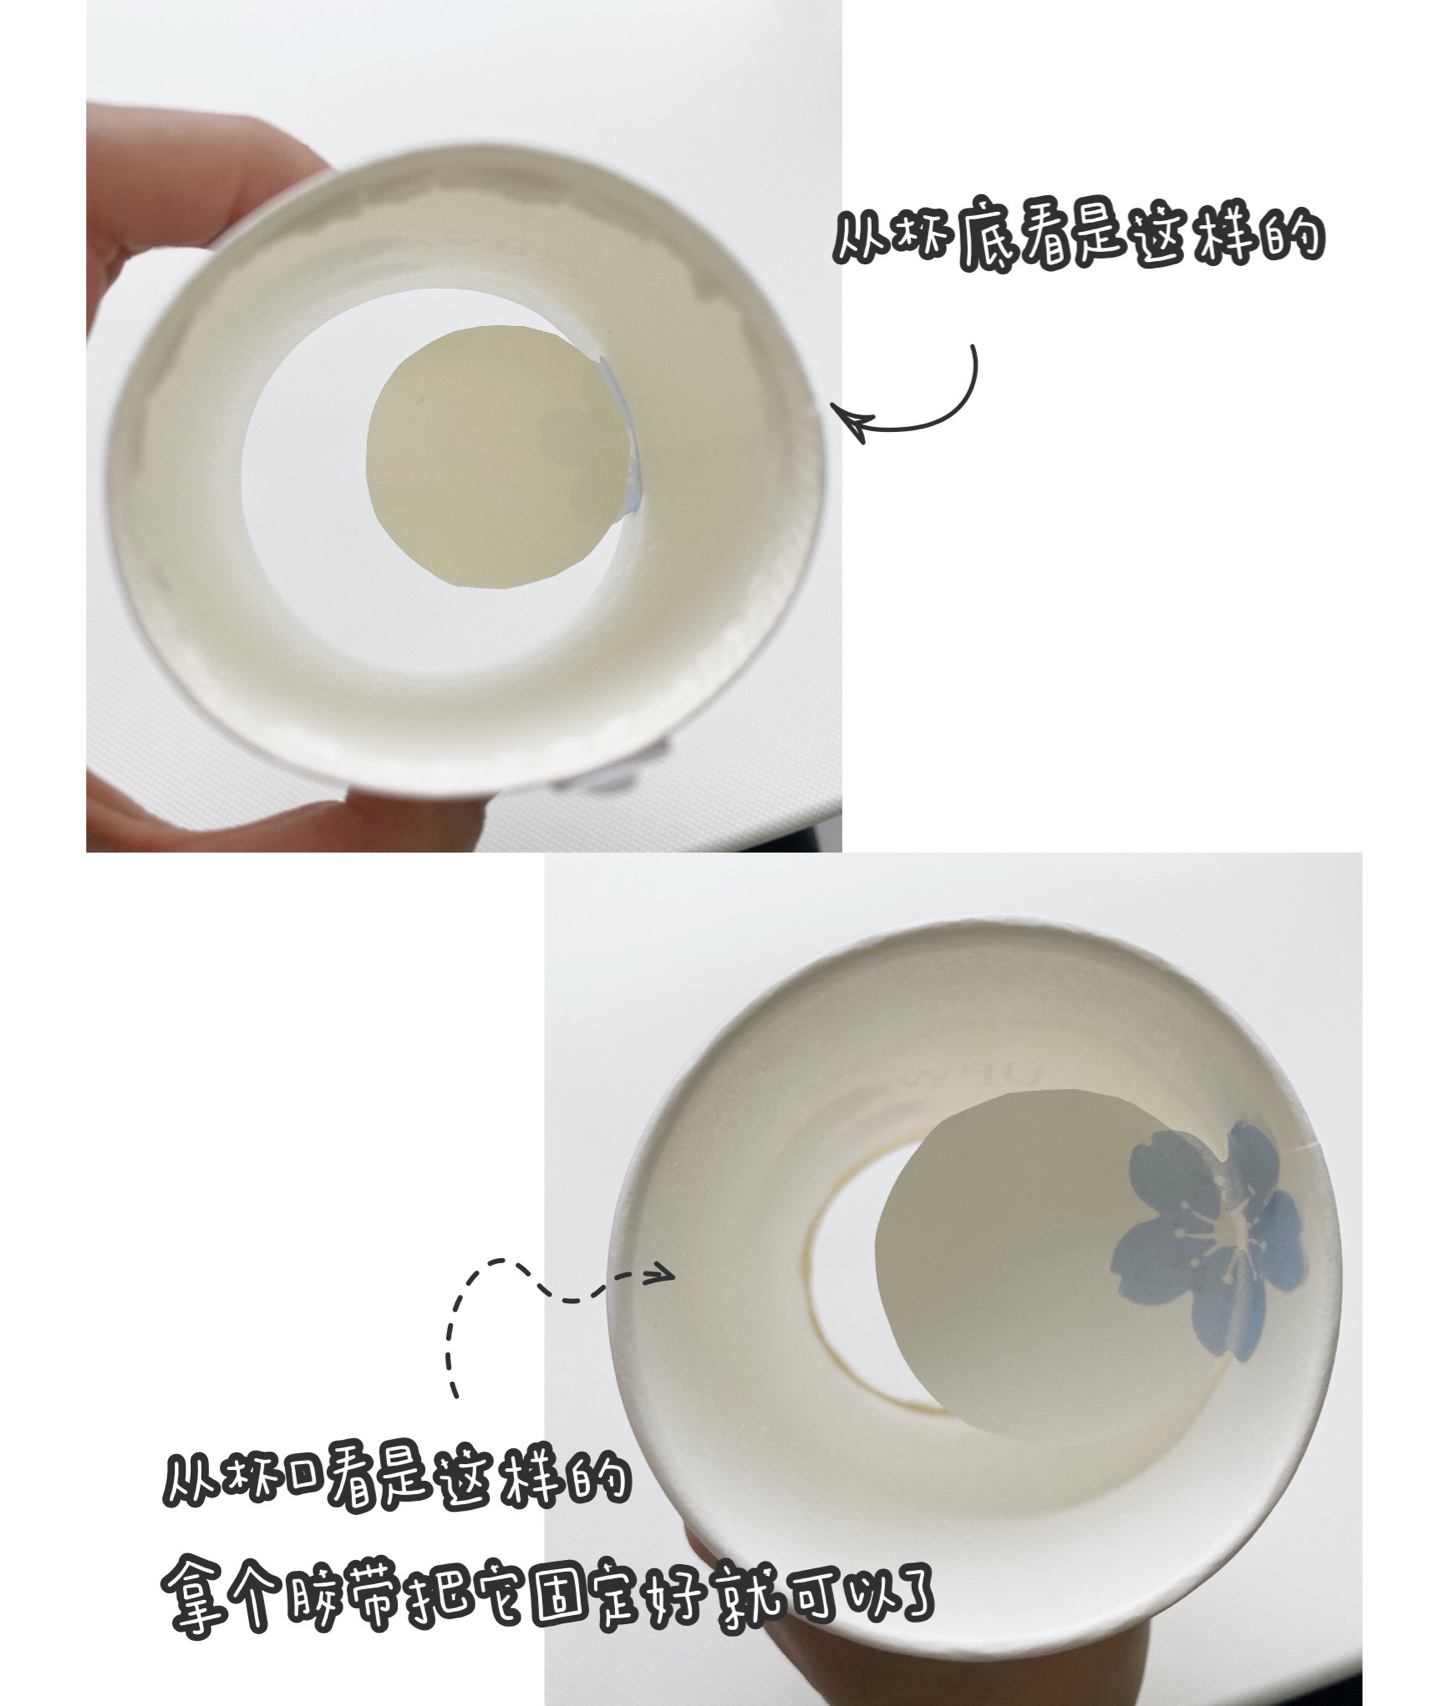
1. Use scissors to buckle out the bottom of the paper cup, keep its round shape, and cut it round as much as possible. The effect will be better!
2. Paste the cut round shape on the big mouth of the paper cup. With different positions, you will get different crescents.
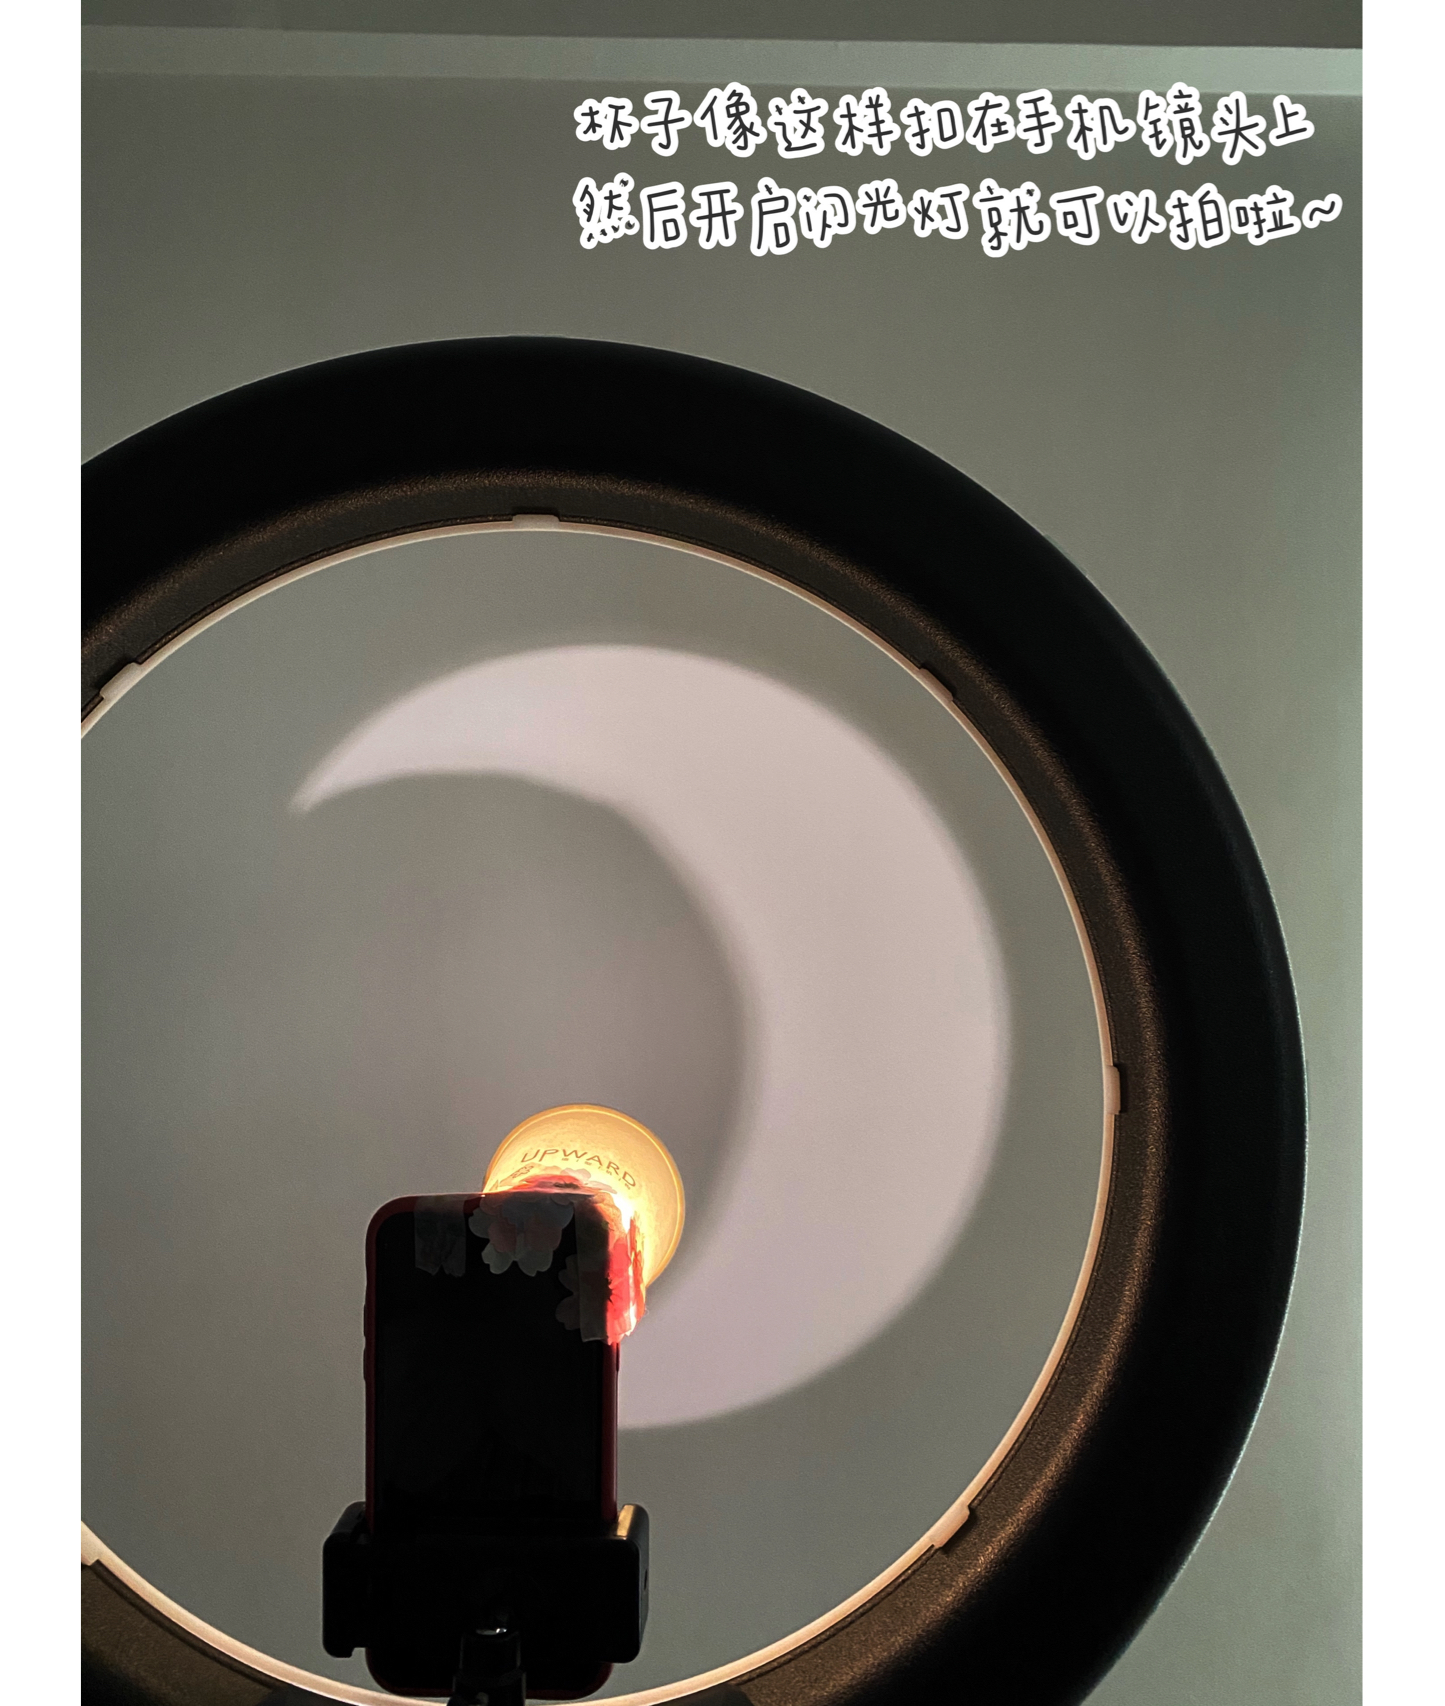
3. After attaching it, buckle the bottom of the cup on the phone, and turn on the flashlight function (the flashlight of the iPhone can adjust the brightness, and the brightness needs to be adjusted to the maximum).
4. Turn off the lights at home and pull up the curtains.
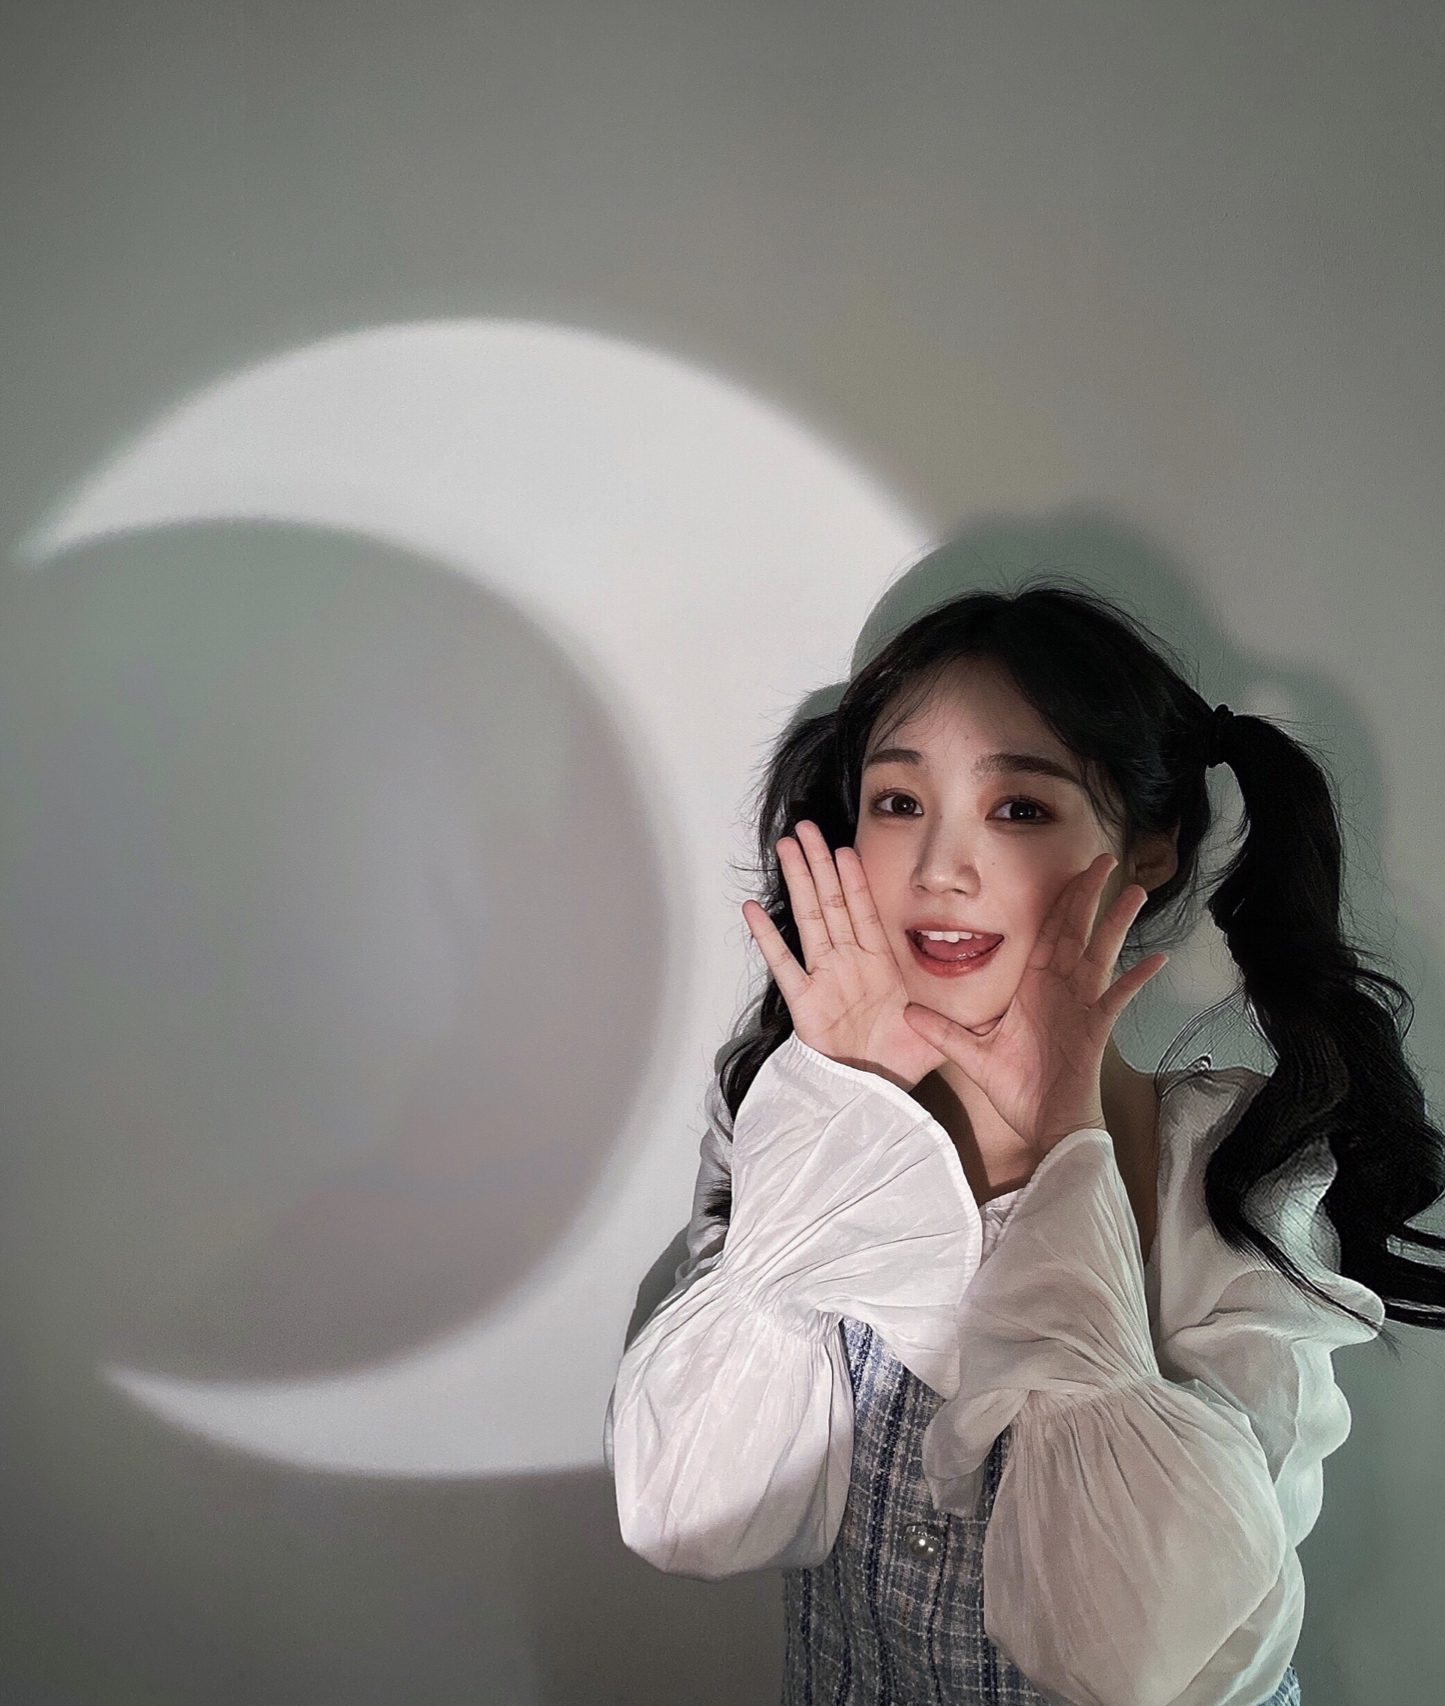
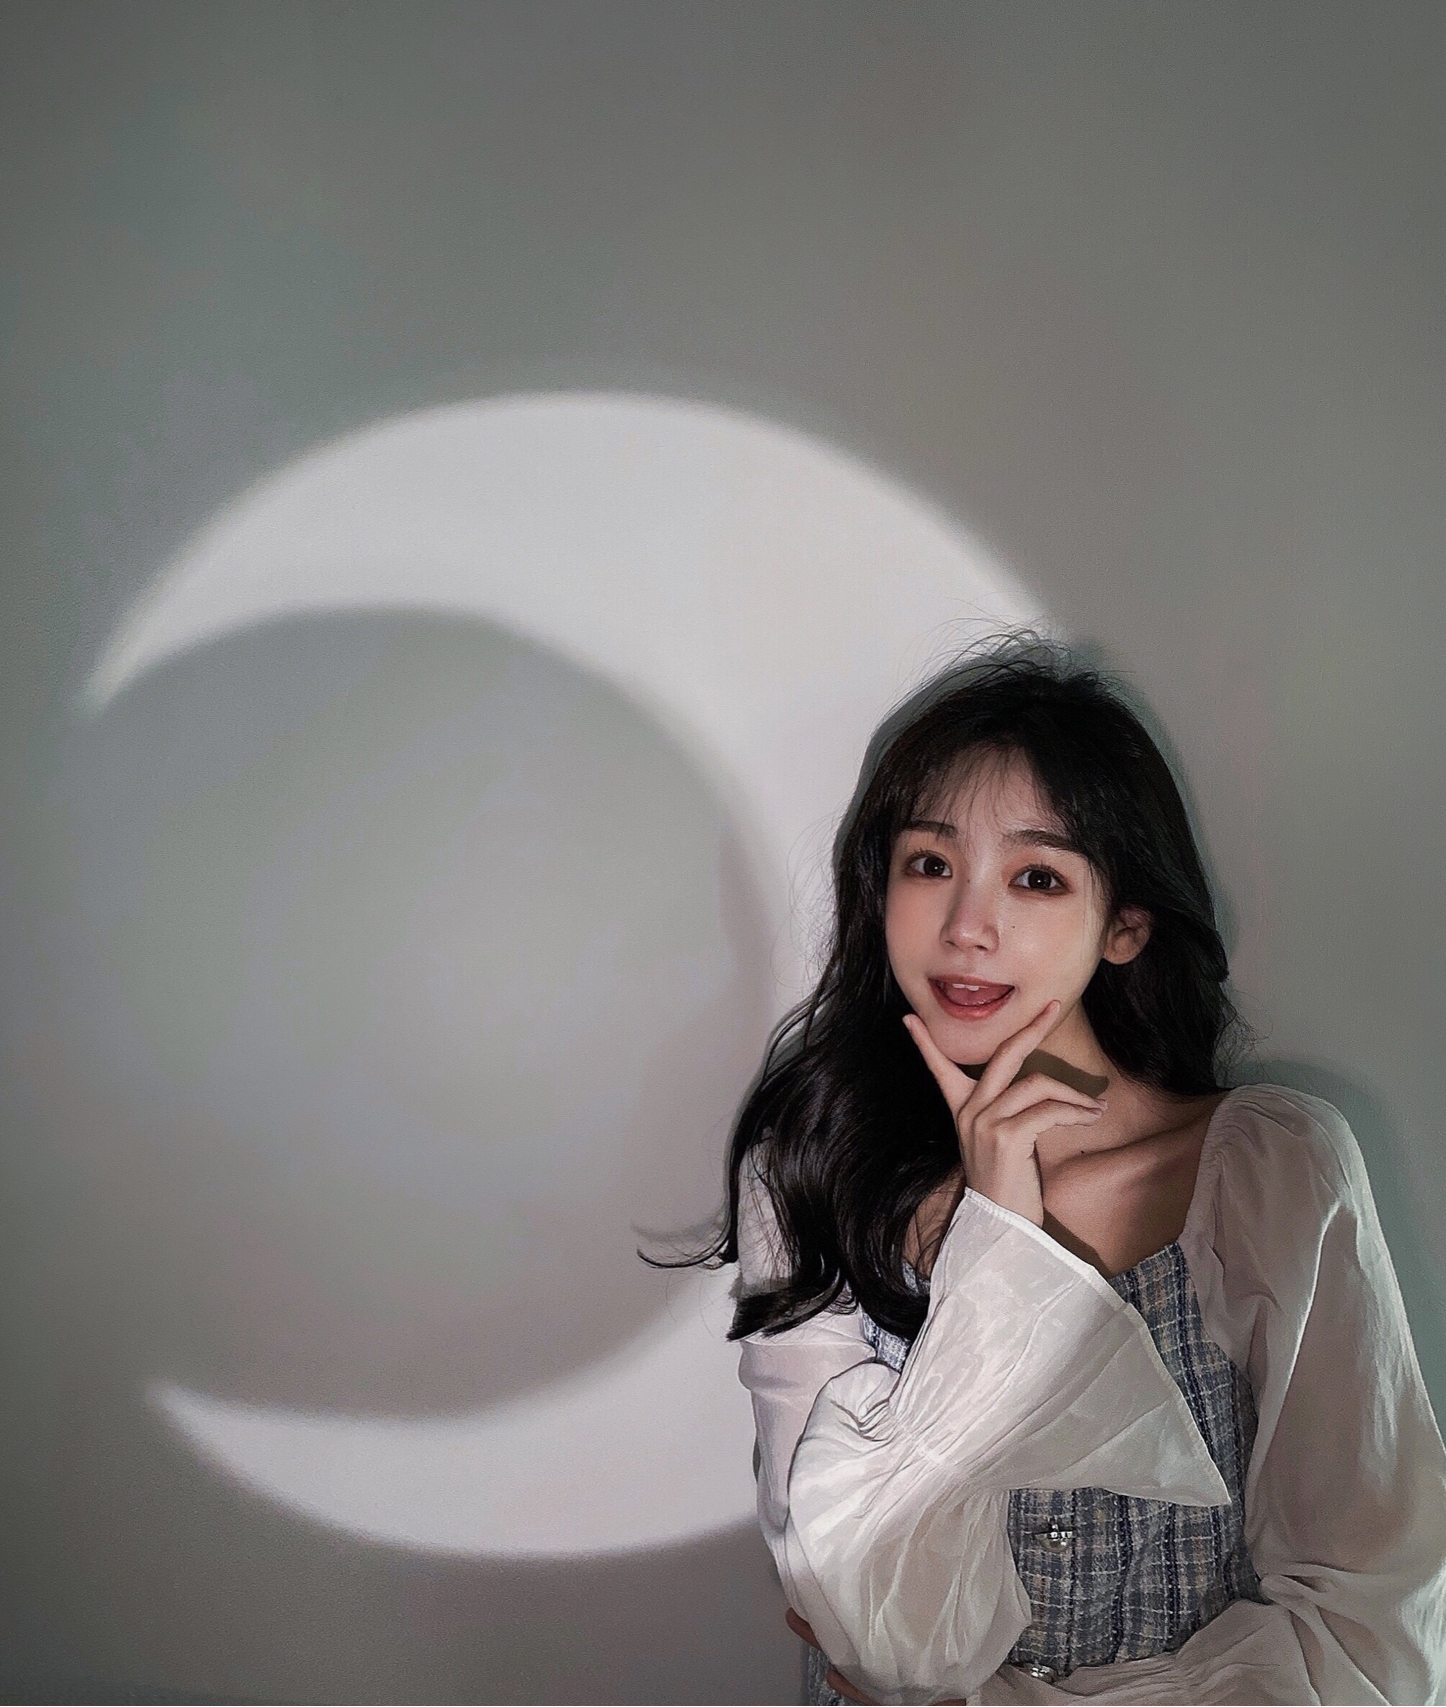
5. Finally, use another mobile phone to start taking pictures. When taking pictures, the light can be dimmed, so that the effect will be more obvious.
