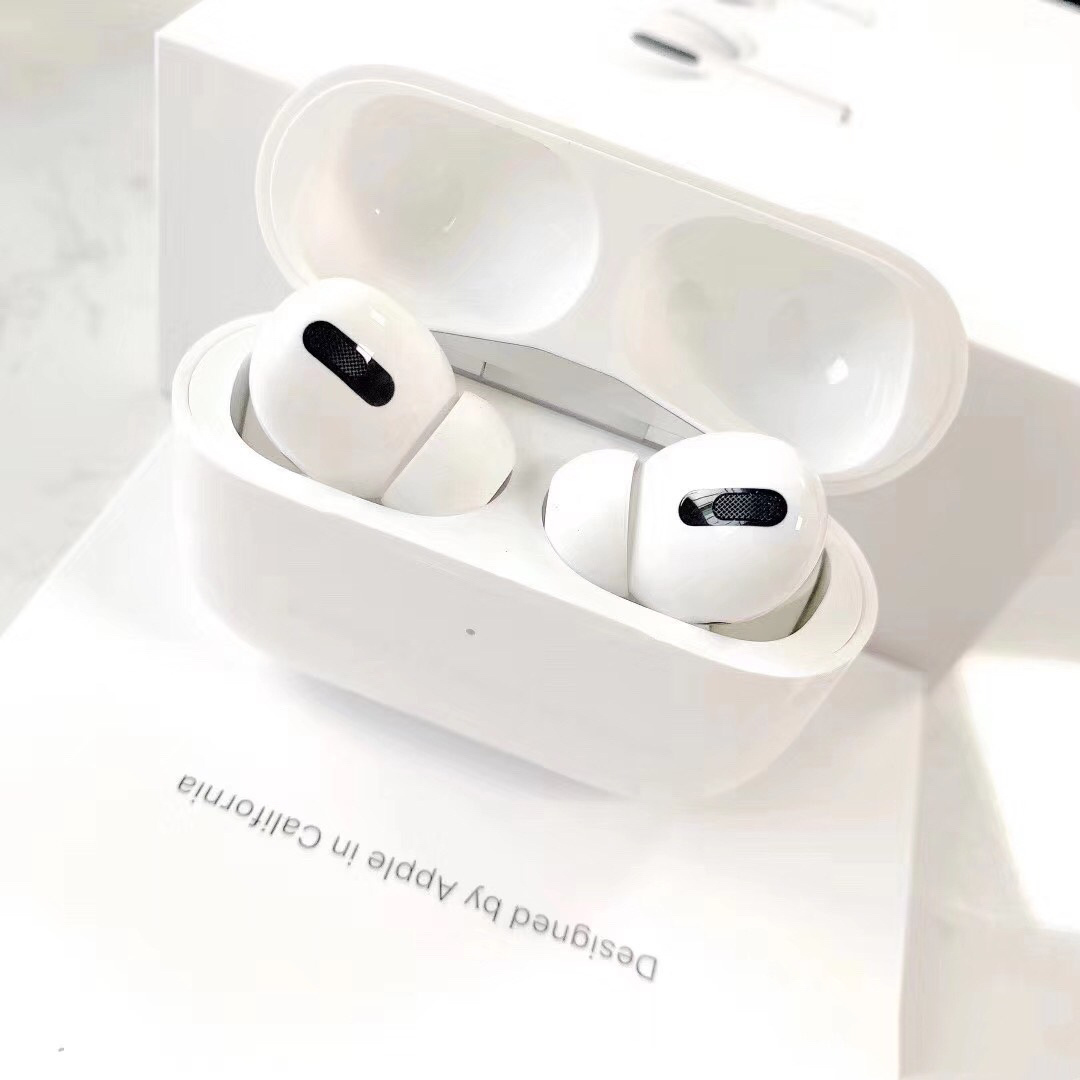
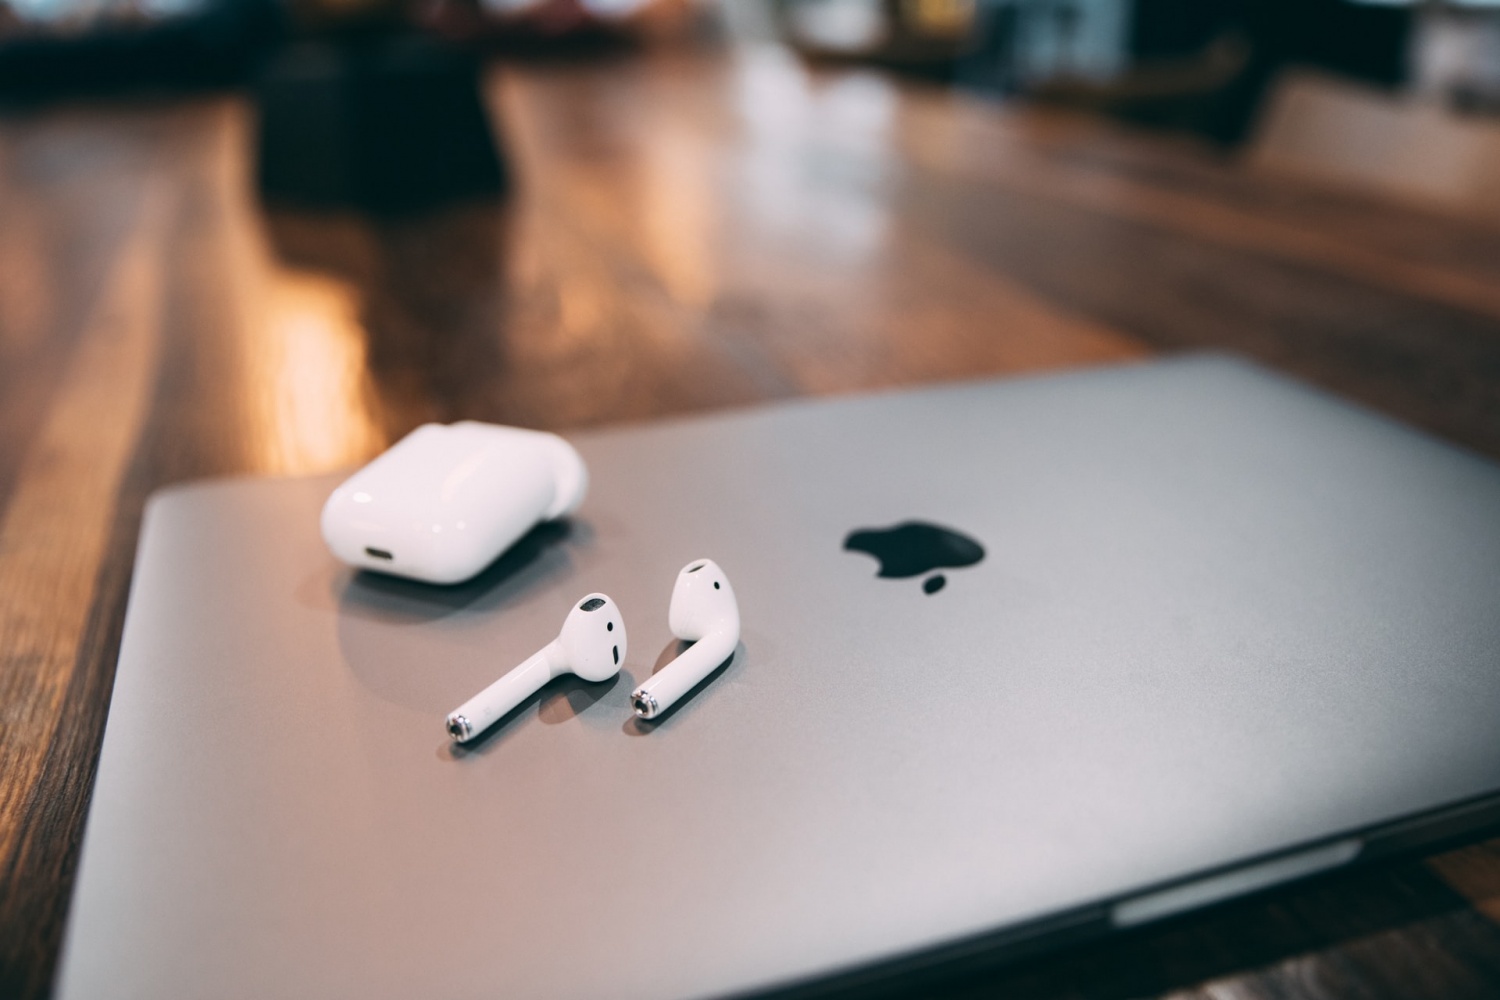
AirPods are smart wireless earphones designed by Apple, you can use them on devices like iPhone and iPad. According to statics, it’s one of the hottest accessories of Apple devices.
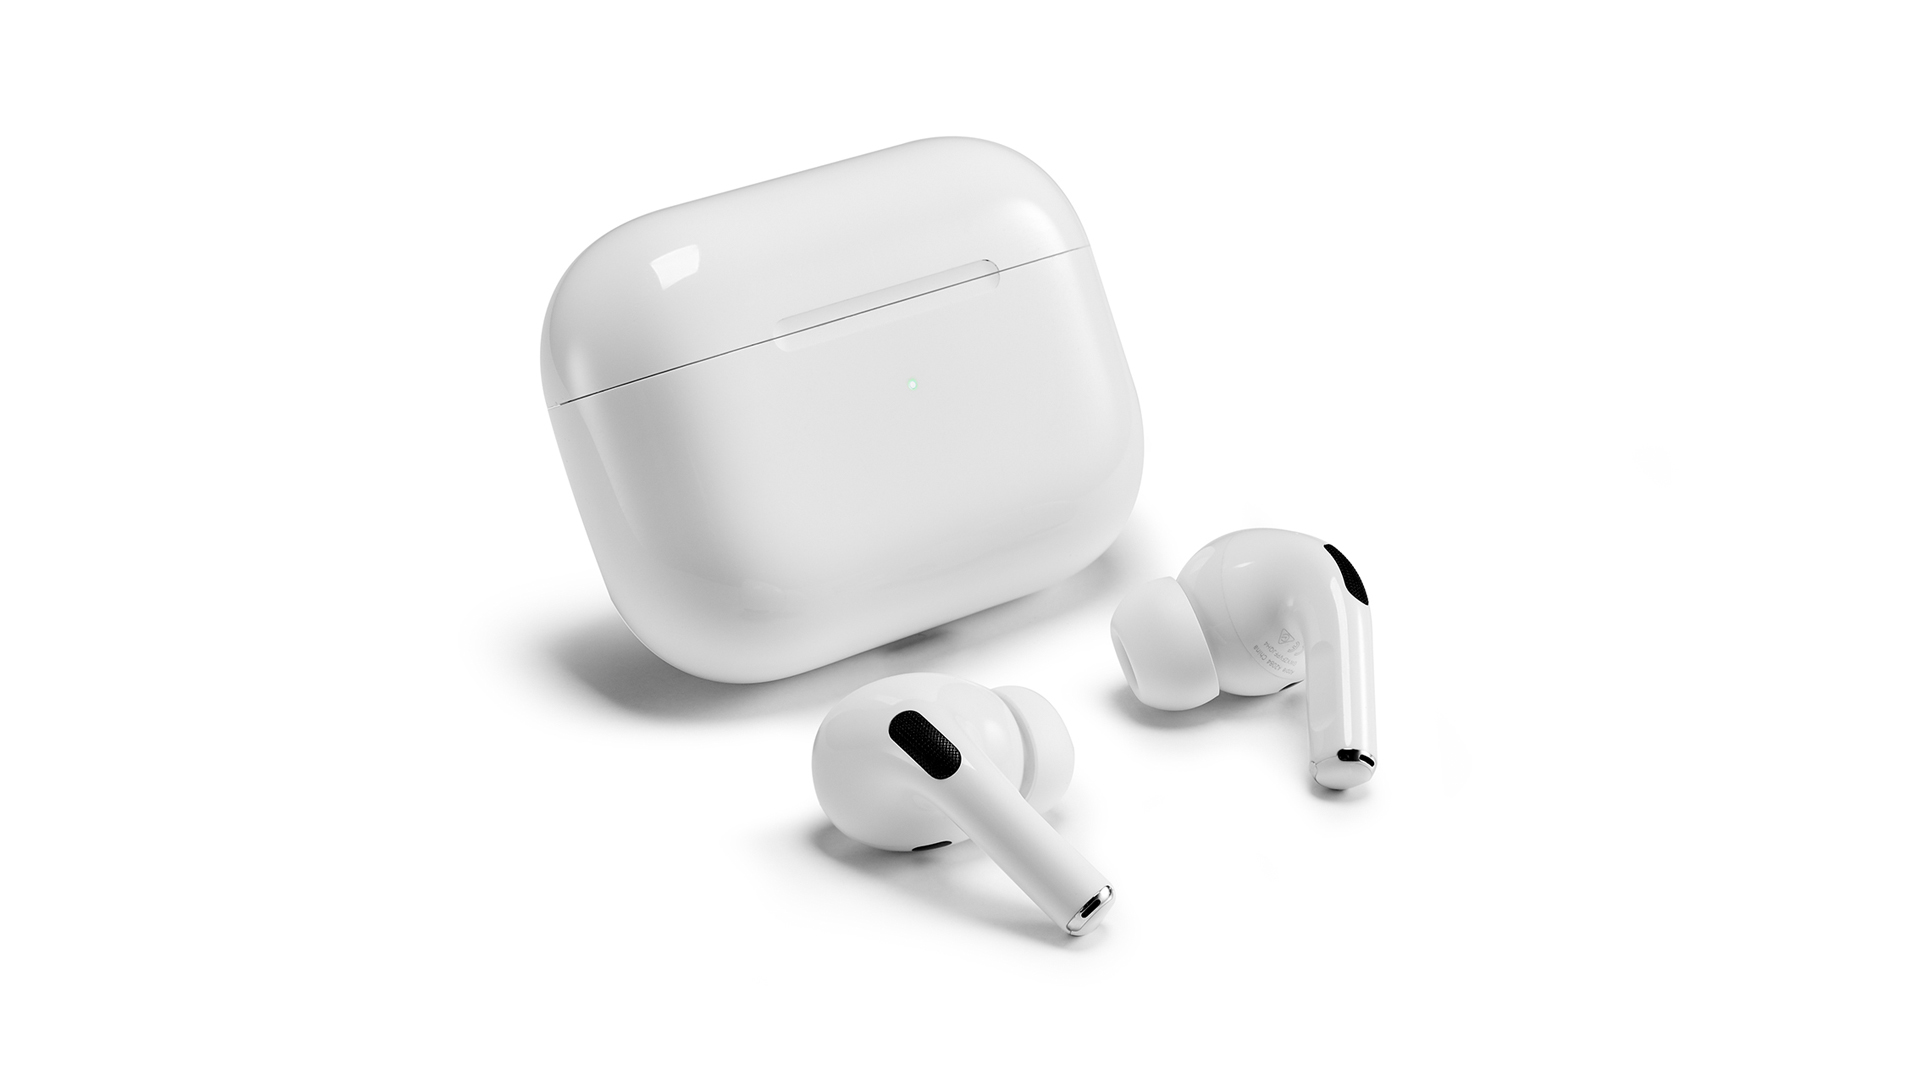
Today, I’d like to offer some AirPods tricks and AirPods tips to help you get a better understanding of this wireless earphone.
AirPods Tips 1: Light & Status
After opening the lid of the charging case of AirPods, you’ll see a status light in the middle. When AirPods is put in, it will show the charging status. When you pull out the AirPods, it will show the status of the case.
Meaning of different colors:
- Green: fully charged
- Orange: not a full charge
- Amber: less than one full charge remains
- Flashing white: ready to pair with a device
- Flashing amber: need to set up again
Next, let’s talk about the connection, which is the first step to use AirPods as your earphones.
AirPods Tips 2: Connect AirPods to iPhone
AirPod settings: how to connect AirPods to iPhone.
Enable Bluetooth on iPhone -> put AirPods case next to iPhone -> open the lid of the case -> press Connect on iPhone -> press and hold the button on the back of the case -> press Done on iPhone.
Things to know about AirPods:
- Pairing AirPods with iPhone will also pair them with your Apple Watch.
- The steps to pair AirPods to iPad are the same.
Can You Connect AirPods to MacBook
Some people want to know whether they can connect an AirPod to MacBook, besides iPhone and iPad. As I said earlier, AirPod can be used as a wireless earphone for different Apple devices, including MacBook.
How to turn on AirPods on MacBook: go to Bluetooth -> make sure it’s turned on -> pair AirPods with MacBook by pressing the button on the case -> select AirPods from the devices list on MacBook.
Besides, AirPod 1, AirPod 2, and AirPod Pro can also be connected to and used on non-Apple devices, such as Android devices, Windows PC, and even TV. But the auto-play and pause function is only available when AirPod is using on an Apple device.
AirPods Tips 3: Charge & Battery
There are 3 easy ways to charge your AirPod: with a cable, using the case, and charge with a charging mat.
AirPods Tips 4: Change the Name of AirPods
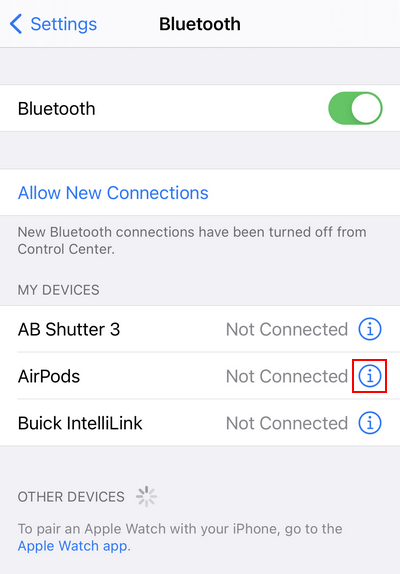
- Open Settings.
- Select Bluetooth.
- Look for the AirPod in the devices list.
- Press the blue i icon next to it.
- Select Name and type in a new name.
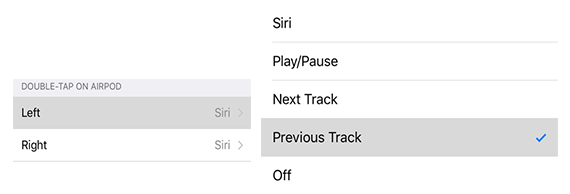
AirPods Tips 5: Customize Double-tap Function
For the first generation of AirPod, double-tapping each side of AirPod will launch Siri on your device. While for the second generation, double-tapping means to go to the next track by default. However, Apple makes it possible for you to decide what a double-tap can do.
- Repeat step 1 to 4 mentioned in AirPods Tips 4.
- Navigate to the DOUBLE-TAP ON AIRPOD section.
- Select Left and choose the feature you want for the left AirPod: Siri, Play/Pause, Next Track, Previous Track, or Off.
- Select Right and choose the feature you want.
AirPods Tips 6: Read Message with Siri
You can let Siri read messages automatically for you:
- Open Settings.
- Select Siri & Search.
- Select Announce Messages.
- Make sure Announce Messages with Siri is turned On.
This works when the second generation AirPods and some Beats headphones are connected.
7 Other AirPods Tips and Tricks
- You can use one AirPod each time and then switch to the other to increase using time.
- You can locate a lost AirPod through Find My iPhone or from iCloud.
- You can use AirPods as a hearing aid by the Live Listen function in iPhone.
- You can share audios and phone calls with friends using the AirPods.
- You may enable Automatic Ear Detection to transfer audios from connected device to AirPods.
- You should know who’s calling without looking at your iPhone with the Announce Calls enabled. (This feature also helps you answer/end a call).
- The Noise Cancellation feature is only available on AirPods Pro (1st and 2nd generation doesn’t include it).
These are the basic AirPods tricks and AirPod instructions you should know. The AirPods pro tips and tricks are basically the same.

