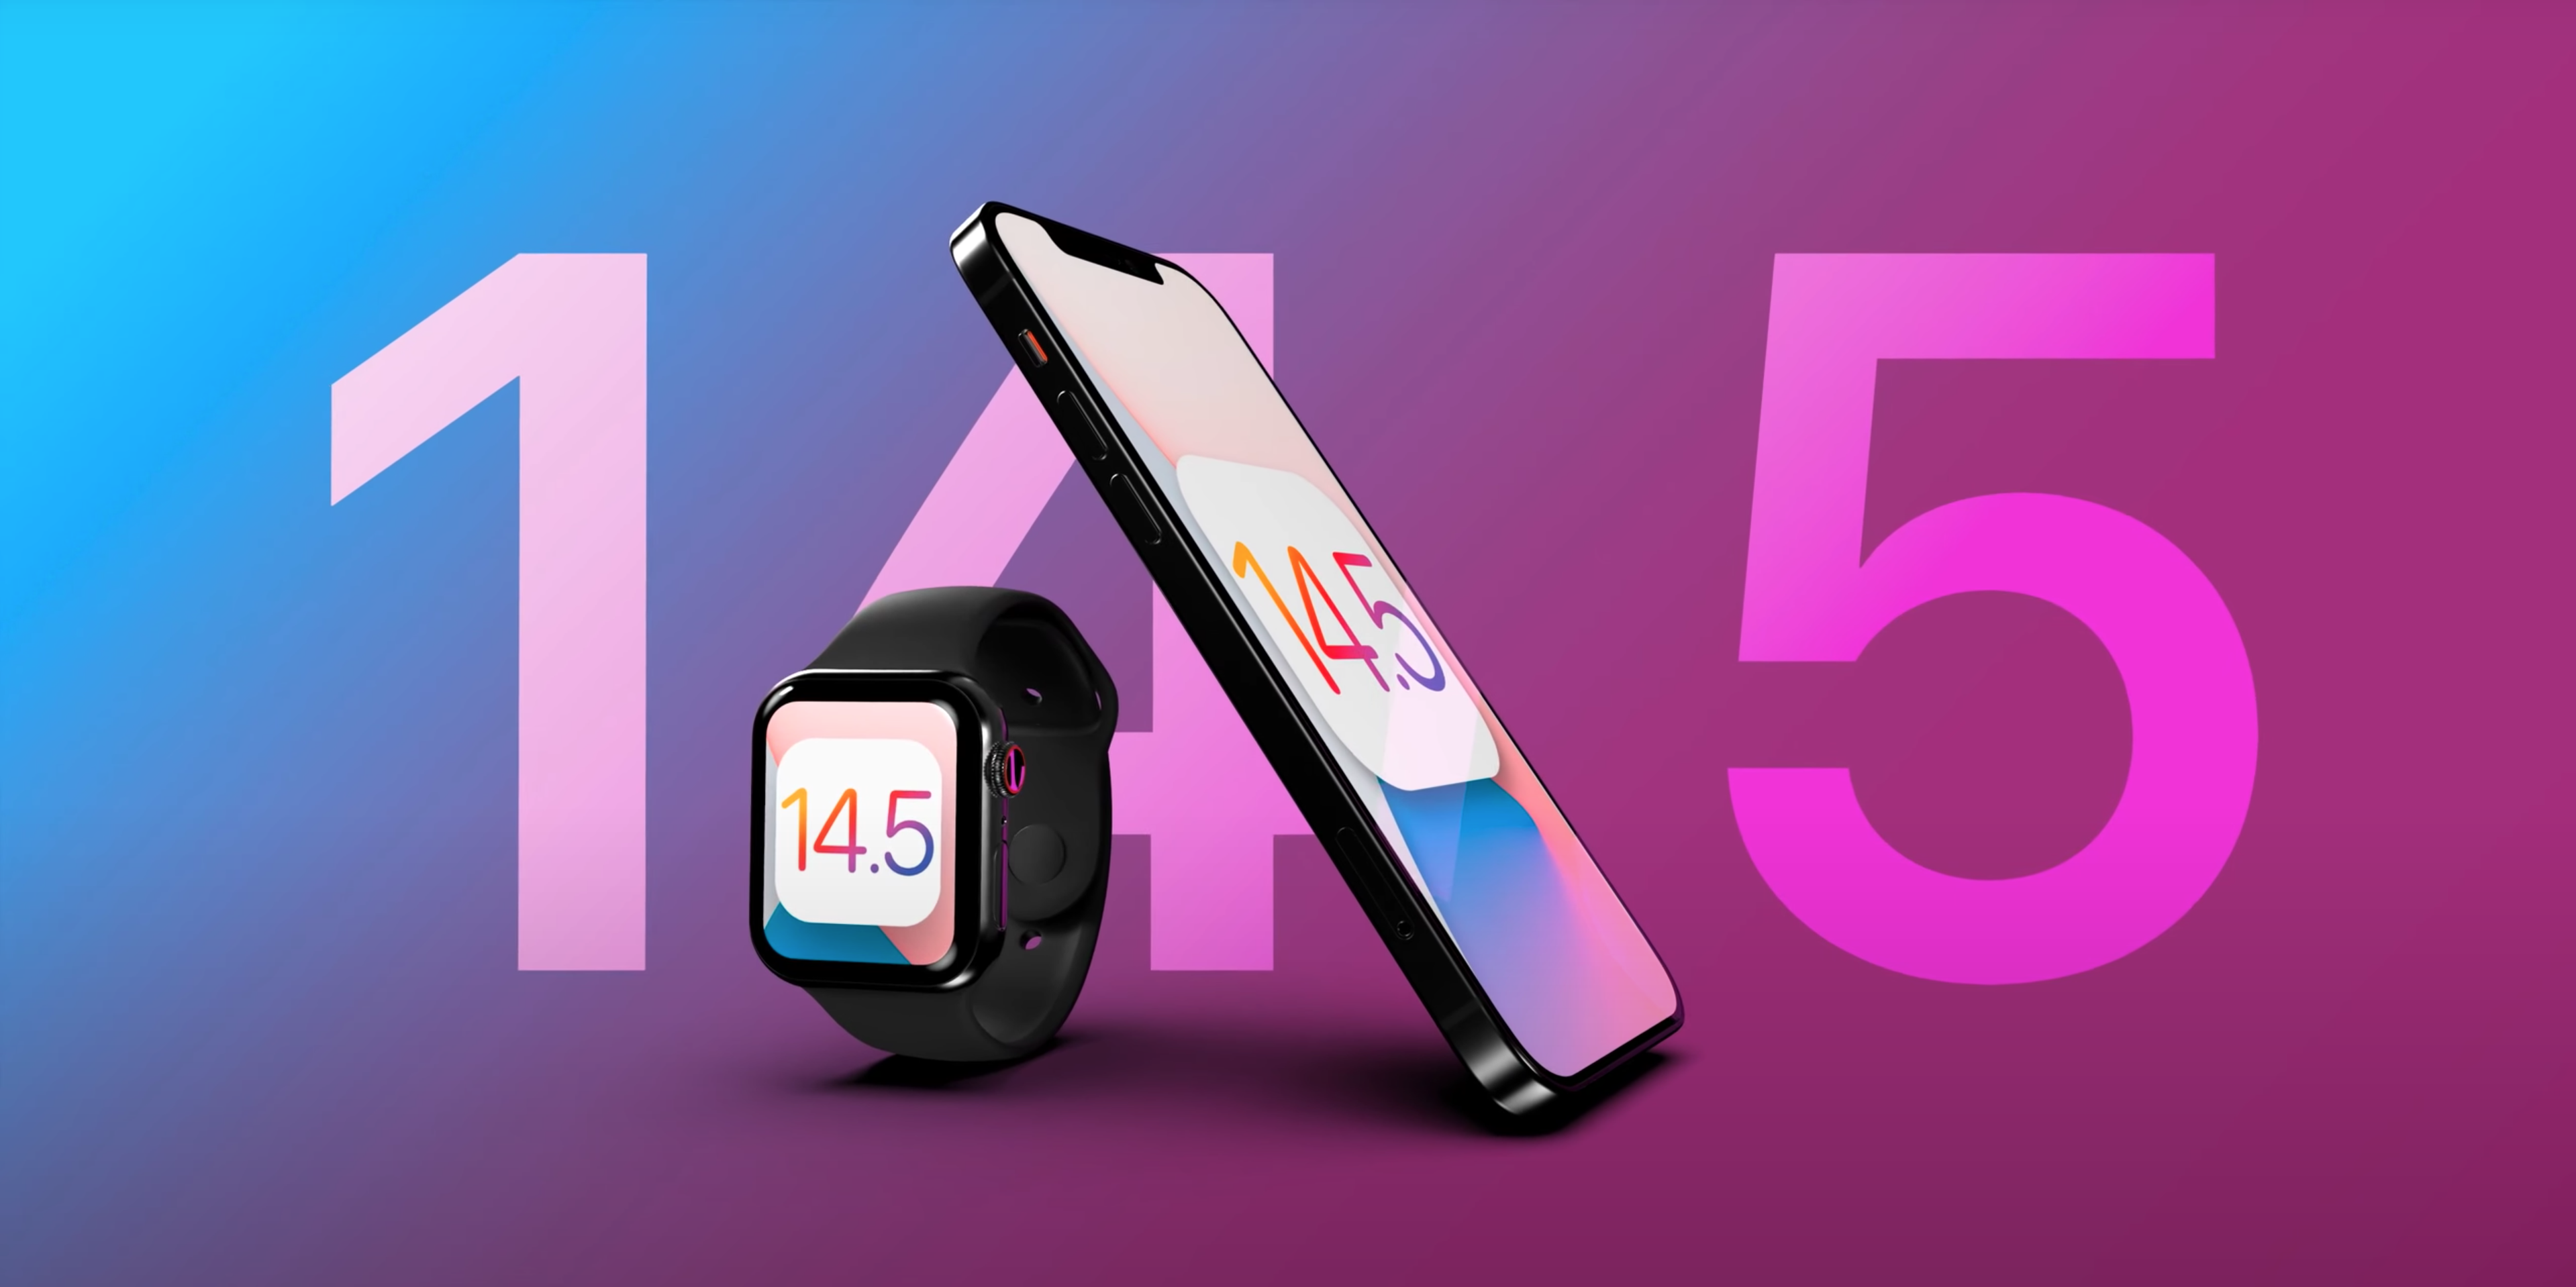
Recently, Apple has released iOS 14.4.1, iPadOS 14.4.1, macOS Big Sur 11.2.3, and watchOS 7.3.2 as important security updates for its devices.
Apple says that iOS 14.4.1 patches a vulnerability in WebKit browsing engine that could have allowed bad actors to execute code on an iPhone, iPad, MacBook, Mac computer, or an Apple Watch through “maliciously crafted” Web content.
With all these new enhancements, it’s important to keep in mind that these new features may help or hinder your security and privacy. Here, we have compiled some tips and tricks to make your iPhone and iPad more secure and safer in 2022.
Turn On Automatic Updates
Keeping your iOS updated is essential to the device’s security. New iOS versions are released in order to fix bugs, patch vulnerabilities, and address the latest threats. Hackers can exploit these weaknesses by writing code to target a specific vulnerability. To turn on automatic updates:
Settings > General > Software Update and turn on automatic updates.
Set A Passcode
Create a complex passcode to unlock your phone, and feel free to make it longer than the standard 4 digits. You’ll find the options for this in Settings > Face ID & Passcode > Change Passcode.
Use Touch ID Or Face ID
In addition to a strong passcode, you can add another layer of protection by enabling both Touch ID and Face ID, if available.
How to set up Touch ID or Face ID:
Settings > Face ID & Passcode. If asked, enter your passcode.
Tap “Set Up Face ID,” then follow the on-screen instructions.
Settings > Touch ID & Passcode, then enter your passcode. Then follow the on-screen instructions.
Enable Find My iPhone
Find my iPhone is Apple’s built-in tracking software. It uses GPS to locate a lost or stolen phone. In addition to helping find a phone, it also has other built-in security features such as Activation Lock, which will prevent anyone else from using your iPhone. To gain access, it requires the user’s Apple ID and password. Without this information, someone can’t turn off the Find My iPhone feature, erase your device, or reactivate and use your device. How to enable the Find My iPhone feature:
Settings > User Name > iCloud. Scroll to the bottom and tap Find My iPhone. Slide to turn on Find My iPhone and Send Last Location. If you’re asked to sign in, enter your Apple ID.
Consider The Auto-Wipe Clause
At the bottom of your Face ID & Passcode settings is an “Erase Data” option. Enabling this will trigger your phone to automatically wipe all data from the device after 10 failed passcode attempts.
Use A VPN On Public Wi-Fi
A virtual private network gives you a private and secure way to connect to the internet wherever you use it. It creates a secure, encrypted connection between your public internet connection and the VPN service’s private server. A VPN acts as a sort of tunnel, encrypting the data you transmit and receive while on public Wi-Fi, such as at a coffee shop or airport.
Enable 2FA
Two-factor authentication — also known as 2FA — is a method of verifying your identity that adds a second form of authentication in addition to your account password. How to set up 2FA:
Settings > tap your name > Password & Security. Tap “Turn on Two-Factor Authentication” and follow the prompts.
Turn On USB Restricted Mode
This security feature prevents USB accessories that plug into the device from making data connections with an iPhone, iPad, or iPod. This helps prevent what is called “juice jacking,” which is when malware can be installed onto a device or information can be stolen via the USB charging port. How to turn on USB Restricted Mode:
Settings > Touch ID & Passcode > type in your passcode. Scroll down and ensure that the “USB Accessories are not permitted on the lock screen” setting is off. (On an iPhone X, check your Face ID settings instead.)
Make Sure Your iPhone Screen Locks Quickly
The most secure option is to set Require Passcode to Immediately, which will require you or anyone who picks up your phone to enter your passcode no matter how long ago you last unlocked your phone. How to set up Auto-Lock:
Settings > General button > Auto-Lock
Encrypt Your Backup
iTunes doesn’t back up some of your personal data like our saved passwords, Wi-Fi settings, Website history, and Health data. However, you can encrypt your backup to save them.
Once you have enabled the password-protected Encrypt backup option, iTunes will automatically create the encrypted backup from then onwards. It’s pretty simple to do, simply connect your device to computer → fire up iTunes → select the device and then check the box for Encrypt iPhone/iPad backup under Backups section.
Read more articles: https://www.facebook.com/RedTomElectronics/
If you have more ideas to discuss with us, welcome to join our Apple Fans Club on Facebook.

